
Every cyclist knows that a bike isn’t just a mode of transportation—it’s a prized possession that deserves meticulous care. Imagine cruising down your favorite trail or city street, your bike gleaming under the sun, free from scratches and wear.
In this guide, we dive into essential maintenance practices that not only preserve your bike’s stunning appearance but also enhance its longevity and performance.
From savvy cleaning routines to ingenious DIY solutions, discover how to keep your ride looking sharp and running smoothly mile after mile.
Protecting Bike Paint
Giving your bike some TLC can keep it looking sharp and extend the life of its paint. Let’s chat about why cleaning your bike frame and using helicopter tape are your best buddies for keeping your bike looking snazzy.
Importance of Frame Cleaning
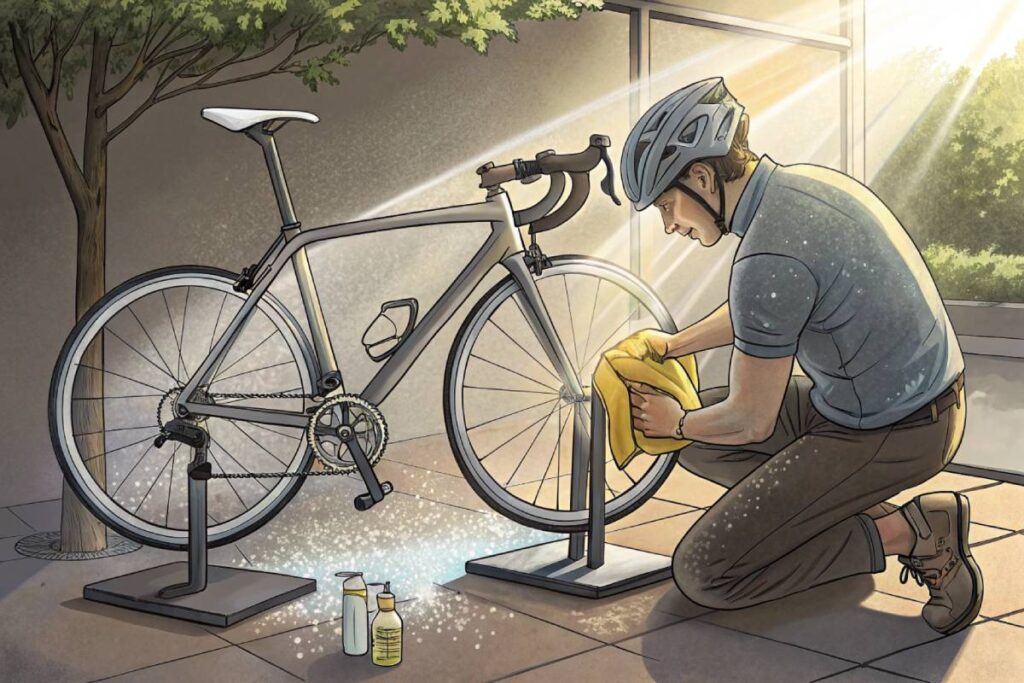
Keeping your bike squeaky clean isn’t just about looks—it’s about spotting any sneaky problems early on. Regular TLC helps ditch dirt and lets you spot frame or fork issues before they grow up to be big problems. This little ritual of cleaning can save you some heartache and catch those irritating paint chips early.
- Step-by-step cleaning: Grab some mild soap, water, and a soft sponge or cloth, and give your bike frame a gentle scrub.
- Tools needed: You’ll need a bucket, pushy-soft brushes, gentle detergent, and drying cloths.
For more detailed cleaning guides, peek at our clean bike frame and bike maintenance schedule articles.
“Regular maintenance is the key to a bike’s longevity. A clean frame not only looks great but also helps identify issues before they become serious problems.”
— Emily Rivers, Professional Cyclist
Use of Helicopter Tape
Helicopter tape is a knight in shining armor for your bike frame. Sticky, thick, and ready to take on flying road rocks, this tape keeps those pesky scratches at bay. Here’s how to slap it on for best results:
- Application points: Stick it under the downtube, on the chainstay drive side, and anywhere cables might rub against the frame.
- Additional tips:
- Wrap the chainstay to fend off chain scratches.
- Don’t go nuts with the tape—too much can be overkill.
| Area | Recommended Protection | Tape Type |
|---|---|---|
| Downtube | Helicopter Tape | Thick, sticky tape |
| Chain Stay | Clear Tape / Chainstay Protector | Thick or packing tape |
| Cable Contact Points | Clear Packing Tape | Versatile and cheap |
For the budget-conscious, clear packing tape works wonders where the scratches love to come out to play.
Keeping the frame and paint slick isn’t too tough if you stay on top of it. Helicopter tape, when used smartly, can be a game-changer. For a treasure trove of bike maintenance wisdom, swing by our bike repair guides.

“Helicopter tape is a game-changer for protecting your bike’s frame. It’s simple, effective, and keeps your ride looking new even on the roughest trails.”
— Mark Thompson, Bike Maintenance Expert
Preventing Scratches
Keeping your bike looking sharp is way easier than you think. You don’t need to break the bank. We’ve got a few simple tricks to help you out. Let’s dive in.
Using Scratch-Shielding Tapes
Imagine treating your bike to a suit of armor! Protective coverings get the job done in keeping scratches at bay. Helicopter tape is a fan favorite – think of it as a sticky guardian against flying pebbles. Slap some on the underside of the downtube, around the chain area, and where the cables graze the frame.
For those on a budget, clear packing tape works wonders too. Just aim it at the bike hot spots that catch the most scuffs.
| Scratch Shields | What They Do | Prime Spots |
|---|---|---|
| Helicopter Tape | Fights off flying debris | Downtube, chain area, kick-prone spots |
| Clear Bike Tape | Invisible protection | Scratch magnets |
| Packing Tape | Cheap fix | Scratch magnets |
Although it can be tempting to wrap your entire bike in tape, a little goes a long way. Skin your bike without smothering its looks. For more bike glam tips, hit up our bike paint repair guide.
DIY Innovation With Old Inner Tubes
Don’t chuck those old inner tubes just yet! They’re not just trash – they’re your bike’s new best buddy. Cut them up and fasten them with painter’s tape to fend off scratches for pepperoni money.
Steps for a DIY bike protector:
- Chop and Secure: Snip the tubes into chunks, then tape them in place.
- Wrap-Up Operation: Swaddle them around the top tube or any scratch-prone territory.
- Armor Your Lock: Use the inner tube bits to wrap any lock nooks and crannies.
| Repurposed Goods | What They Are Good For | Best Spots |
|---|---|---|
| Old Inner Tubes | Easy on the wallet, good for Earth | Toptube, D lock, pinch points |
Jump over to our bike maintenance schedule for more ways to keep your ride fresh.
With these simple and efficient ideas, your bike will keep sparkling like a new penny. Also, drop by our best bike cleaning products and bike storage guide for extra sparkle-preserving wisdom.
Maintaining Steel Frames
Look after your steel bike frame, and it’ll serve you well for the long haul. Knowing what’s unique about materials like Chromoly steel, and keeping up with maintenance, can make a real difference to your bike’s lifespan and performance.
The durability of Chromoly Steel
Chromoly steel, brought to you by the team of chromium and molybdenum, is like the superhero cape for your bike frame—strong, flexible, and tough as nails. No wonder it’s a favorite for making road, mountain, BMX, and fixed-gear bikes. It’s not only good at soaking up bumps and making your ride smoother, but it also stands up to the wear and tear of your biking adventures.
Key Traits:
- Strength: Chromoly steel can handle a lot without bending out of shape. Think of it like your bike’s version of the Hulk facing down rough trails.
- Toughness: It’s like a boxer who can take a punch and keep on going—perfect for when you’re riding on unpredictable terrains.
- Ductility: Despite its might, it’s flexible enough to avoid snapping under pressure.
| Feature | Benefit | Example |
|---|---|---|
| High tensile strength | Stands up to lots of stress | Tackling tough mountain trails |
| Vibration absorption | More comfy rides | Miles of road cycling bliss |
| Flexibility | No cracking under strain | Pulling off BMX tricks and spins |
Care and Longevity Tips
To keep your steel bike frame in tip-top shape, you gotta show it some love. Here’s how to pamper your Chromoly steel for years of biking joy:
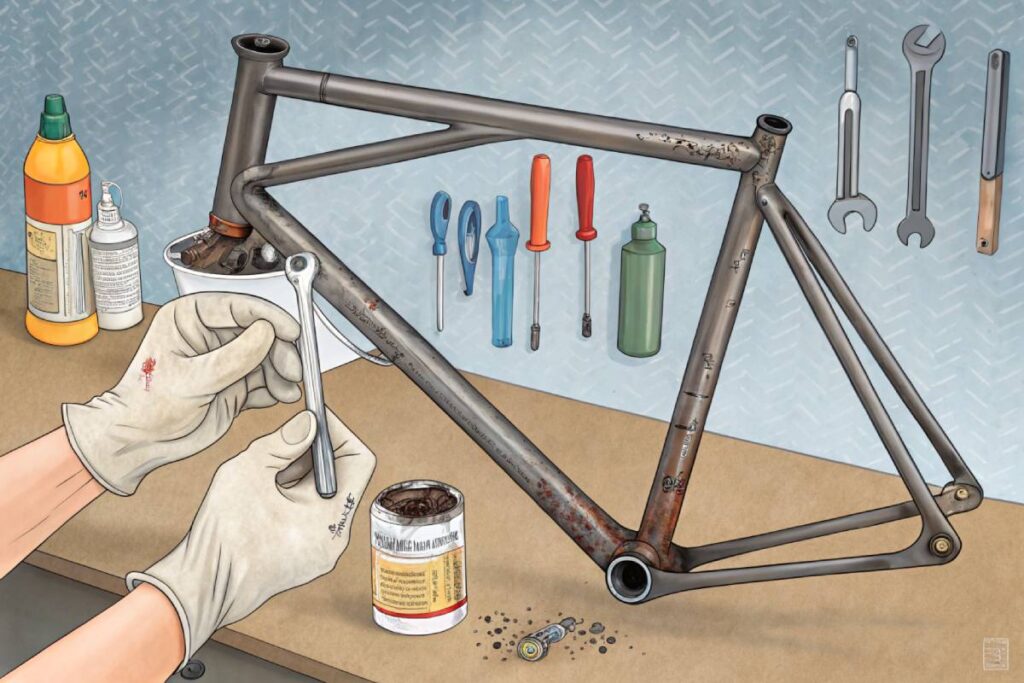
- Fight Rust: Rust! The sworn enemy of steel creeps in if the frame stays damp too long. Wipe it down after riding, especially if you’ve been out in the rain or it’s super humid.
- Regular Check-Ups: Keep your eyes peeled for any signs of damage like rust spots or cracks. Spot them early, and you can nip potential problems in the bud.
- Got Chips? Paint It!: Keeping your bike looking sharp (and rust-free) means touching up any nicks. Get a little paint on those scratches pronto.
- Dry Storage: Rust hates dry places. So, park your bike where it’s cool and moisture-free, simple as that.
Maintenance Routine:
- Check for rusty bits or damage
- Give it a wash with bike-okay cleaners
- Dab some paint on the bare metal spots
- Stash it dry when you’re done riding
Dive deeper into keeping your bike’s paint fresh with our handy guide.
Tackling these tasks helps your bike keep on truckin’ smoothly for ages. If you’re just dipping your toes into bike upkeep, let our maintenance schedule guide your way. And remember, a tool kit can be your best buddy in making the job easier.
By wrapping your head around the perks of Chromoly steel and sticking to these care tips, you’re set to enjoy smooth, comfy rides for years down the line.
E-bike Maintenance Tips
If you’re rolling around on an e-bike, keeping it in tip-top shape is as important as charging the battery. A little TLC goes a long way. Two biggies on the list? Keep those tires pumped just right and check the brakes so you don’t have any hair-raising stops.
Tire Pressure Management
Think about those bike tires as the unsung heroes of a smooth ride. Keeping them properly inflated isn’t just about avoiding that annoying flat tire dance. It’s about grip, efficiency, and making your rides safer and smoother than a Sinatra tune. Here’s the scoop on what those numbers on your tire mean:
| Tire Type | Recommended Pressure (PSI) |
|---|---|
| Urban | 40 – 60 |
| Off-road | 30 – 50 |
| Hybrid | 35 – 55 |
Pumping your tires to the sweet spot helps with:
- Handling that’s as steady as a tightrope walker
- Dodging flats and making your tires last like they’re training for a marathon
- Banishes that draggy friction for a buttery-smooth pedal-push
- Makes pedaling less like a workout and more like a cruise
Checking tire pressure? Some folks might say it’s a bore, but it’s the little thing that’ll keep you worry-free, especially when you’re riding over every bump and pebble in town. A reliable gauge is your best buddy here—give those tires a peek regularly.
Regular Brake Pad Checks
When it comes to halting those speedy excursions, working brakes are kinda non-negotiable. Worn-out pads spell danger and longer stopping distances—are not cool. Keep an eye on those pads before they wear down to a whisper.
Here’s how to spot when they need some lovin’:
- If the pad’s thinner than a pancake (okay, maybe 1.5 mm), swap it out
- Weird wear patterns mean things ain’t balanced right
- Noises when braking? Time for a change before your bike sounds like a car without a muffler
Keeping those brakes sharp ensures you can stop on a dime and save nine lives—yours included. Regular checks mean fewer surprises and more smooth-stopping action.
Want more brake tips? Mosey on over to our adjust bike brakes guide for the lowdown.
TLC like tire checks and brake updates will keep your e-bike cruising without hiccups. For the full rundown of what to do when take a gander at our bike maintenance schedule. Keep those wheels turning and the good times rolling!
Boosting Comfort on Your Bike
Wanna love every ride? You gotta make your bike comfier! Here’s the scoop on what tweaks will totally change your biking journey.
Fixing That Saddle
Dialing in your bike’s seat is huge for feeling good and dodging stuff like saddle sores. Handlebars and seat spots make a big difference.
- Saddle Height: You want your leg almost straight at the bottom of your pedal sweep. Get that height right!
- Fore and Aft Spot: Sit the saddle spot-on with the bottom bracket. If it’s too forward, your hips might scream from carrying too much. Too far back, and it throws off your muscle mojo, leaving you sore and sorry.
- Tilt Angle: Level out your seat or give it a tiny tip to keep pain points at bay. But don’t overdo it, or you’re asking for a painful ride.
| Tweak | What’s Good |
|---|---|
| Saddle Height | Leg nearly straight when pedaling down |
| Fore and Aft Position | Keep weight in check |
| Tilt Angle | Flat or a gentle slant |
Tuning Cleat and Pedal Fit
Getting your cleats and pedals set just right stops injury and makes pedaling a breeze!
- Cleat Spot: Line those cleats up the same on both sides. Mess this up, and you might feel the pain train!
- Q-Factor: This measures the space between crank arms. Too wide or too tight, and you’re rubbing those thighs raw.
- Pedal Width: Match your pedals to how you naturally stand. A mismatch can throw off your groove and cause aches.
| Tweak | What’s Good |
|---|---|
| Cleat Spot | Perfectly even, right on the ball of your foot |
| Q-Factor | Natural, comfy stance width |
| Pedal Width | Fits your natural spread |
Want more bike tips? Check these out: Keep Your Bike in Top Shape and Must-Have Bike Tools.
Clothing and Accessories
Cycling-specific Shoes
Bike shoes might not be the flashiest buy, but to say they don’t pack a punch would be an understatement. They make pedaling feel like a dream, with firm soles that keep your energy from getting wasted every time you push down on the pedals.
| Type of Cycling-specific Shoe | Features | Best For |
|---|---|---|
| Flat Sole Shoes | Solid soles, great for laid-back rides | Mountain biking, casual cycling |
| Threaded Sole Shoes | Designed for clipless pedal cleats | Road cycling, competitive cycling |
When shopping around, you’ll notice that they often come fitted with spots for cleats to hook onto clipless pedals. For anyone new to cycling or those aiming to elevate their game, zeroing in on the right pair is, no joke, super important. And hey, give your gear a once-over now and then to keep it in top shape, as per your bike check-up checklist.
Clipless Pedals
These babies might sound funny with their backward name (why clipless when they clip in?), but they’re a game-changer. They lock you into your bike, turning every ride into a smoother, more efficient journey. Snap into these bad boys, and say goodbye to slips and wasted energy. These pedals are especially a hit among road cyclists (Bike Radar).
| Type of Pedals | Benefits | Best For |
|---|---|---|
| Clipless Pedals | Firm connection, better control | Road cycling, competitive cycling |
| Flat Pedals | Easy peasy, good for laid-back rides | Mountain biking, casual cycling |
Want to take your ride to the next level? Tweak your bike’s setup for more comfort and a boost in performance. Things like getting your seat and cleats just right can change the game. Check out our advice on fixing those squeaky brakes and gear shifting magic for more juicy hacks.
Security for Bikes
Keeping your bike safe from those sneaky thieves is a big deal. Let’s chat about the different types of locks and some cool tech like security tags and trackers to keep your ride where it belongs—right in your hands.
Types of Locks
Bike locks come in all shapes and sizes, and figuring out which one is your perfect match depends on how much you love your bike, how often you ride, and where you usually park it. Here’s what you should know:
| Type of Lock | Key Features | Pros | Cons |
|---|---|---|---|
| U-lock | Costs an arm and a leg, and needs juicing up | Top-notch security, tough to cut | Kind of heavy and clunky |
| Folding lock | Compact, folds up nice | Easy to carry, mounts flexibly | Pricey and not as secure as U-locks |
| Chain lock | Thick chain, protective sleeve | Super flexible and adjustable | Feels like lifting weights |
| Cable lock | Lightweight steel cable | Easy to tote around | Granted, it’s easier to snip |
| Smart lock | Electronics, alarms galore | Super modern, GPS features | Costs an arm and a leg, needs juicing up |
Bike lock makers like to brag about their clever designs to fend off tools like grinders. A shining star in this arena is the Litelok X1—featuring kick-butt grinder resistance due to its strong ceramic composite material and anti-rotation locking system. Lock your buddy to a solid rack, preferably where a crowd might scare thieves away.
Security Tags and Trackers
On top of sweet locks, consider adding security tags and trackers to the mix. Think Bluetooth and GPS—your secret find-my-bike friends if you ever need them.
| Tracking Device | Features | Pros | Cons |
|---|---|---|---|
| Tile Tracker | Bluetooth, community help | Costs more, may require a plan,and battery drain | Limited distance, needs other Tile folks |
| Apple AirTag | Bluetooth, iOS buddy | Perfect for your Apple gear, precise | Needs that Apple device, short-range |
| GPS Tracker | GPS tracking, cell connection | Right-on-the-money real-time tracking | Costs more, may require a plan, and battery drain |
Remember, Tile and AirTag have some limits like Bluetooth reach, so if you want hardcore tracking, a GPS tracker might do the trick, though you’ll spend a few bucks more.
To double down on your bike defense, pair a trusty lock with one of these tracking gadgets. For more bike care know-how, peek at our bike maintenance schedule and bike storage guide. Happy riding and happy bike guarding!
Foot Pain Management
Foot pain can really put a damper on your cycling experience. Knowing why it happens and figuring out how to fix it can make your ride a whole lot more enjoyable.
Causes and Recommendations
There are a few troublemakers when it comes to foot pain for cyclists:
- Bike Setup Mishaps: If your saddle, cleats, or pedal stance are off, you’ll feel it in your feet.
- Wobbly Biomechanics: If your legs aren’t quite right or your pedaling’s wonky, you’re asking for trouble.
- Muscle Mix-ups: When some muscles work harder than others, pressure ain’t spread out right.
- Shoe Squeeze: If your cycling shoes are hugging your feet too tight, you might end up with nerve pain, hot feet, or a bad case of plantar fasciitis Bike Radar.
Terms like “hot feet,” which is basically nerve discomfort, and plantar fasciitis from too much pounding, pop up among cyclists. And let’s not forget metatarsalgia – fancy speak for ball-of-foot ache.
| Condition | Cause | What Helps |
|---|---|---|
| Hot Feet | Nerve crunch | Get the right shoes, use full insoles |
| Plantar Fasciitis | Sole-sapping sports | Supportive shoes, tweak your saddle setup |
| Metatarsalgia | Ball-of-foot pressure | Metatarsal pads, move those cleats |
How to keep foot pain at bay:
- Sensible Shoes: Get shoes that fit well, with room to wiggle.
- Insoles Are Your Friends: Full insoles with metatarsal pads can save your feet.
- Saddle Sense: Adjust that saddle to ease Achilles stress.
- Cleat Craft: Shift cleats back to ease forefoot pressure Bike Radar.
Want more on bike fitting and gear? Check out our bike tool kit essentials guide.
Exercises for Foot Strength
Keep feet strong and they’re ready for anything. Try these exercises, no wallet needed:
- Ankle Lifts: Beef up calves, and boost foot support.
- Tip-toes March: Build up those ligaments and get that balance right.
- Lively Lunges: Work those ankle and foot muscles for better stability.
Exercise Routine
| Exercise | Repetitions | What You Get |
|---|---|---|
| Ankle Lifts | 3 sets of 15 | Stronger calves, better balance |
| Tip-toes March | 3 minutes | Ligament boost keeps you balanced |
| Lively Lunges | 3 sets of 12 | Ankle and foot muscle power-up |
To dodge foot pain, you need the right gear, some smart tweaks, and a good exercise habit. Check our guides on adjusting bike brakes and cleaning bike chains for more tips.
Conclusion
Maintaining your bike’s pristine paint and overall condition doesn’t have to be a daunting task. By incorporating regular frame cleaning, strategic use of helicopter tape, and innovative DIY methods, you can effectively shield your bike from everyday wear and tear.
Whether you’re safeguarding a Chromoly steel frame or fine-tuning your e-bike, these tips ensure your bike remains both beautiful and reliable.
Additionally, equipping yourself with the right gear and accessories enhances your riding experience and prolongs your bike’s lifespan.
Embrace these strategies to enjoy countless smooth and stylish rides, keeping your bike as vibrant and resilient as the day you first fell in love with it.
FAQs
How often should I clean my bike to maintain its paint?
Ideally, clean your bike after every 10-15 rides or whenever it gets visibly dirty. Regular cleaning prevents dirt buildup that can damage the paint.
What is helicopter tape, and how does it protect my bike?
Helicopter tape is a thick, sticky tape used to shield key areas of your bike from scratches and debris. It’s applied under the downtube, on the chainstay, and around cable contact points to prevent wear.
Can I use any type of tape for bike protection?
While helicopter tape is recommended for its durability, clear packing tape is a budget-friendly alternative that works well on high-scratch areas.
How do I prevent rust on a steel bike frame?
Regularly wipe down your steel frame to keep it dry, inspect for rust spots, apply touch-up paint as needed, and store your bike in a dry environment.
What accessories can enhance the comfort of my bike ride?
Consider upgrading your saddle, adding ergonomic grips, installing quality pedals, using padded cycling gloves, and investing in a bike fit to enhance overall comfort.


