Upgrading your bike doesn’t always mean splurging on a new model. Sometimes, the key to a smoother, more efficient ride lies in the details—like your chainring.
Whether you’re a seasoned cyclist or a weekend warrior, replacing your bike chainring can significantly enhance performance and longevity.
Imagine climbing hills with ease or zipping down flat terrains effortlessly; it’s all achievable with the right chainring tweaks.
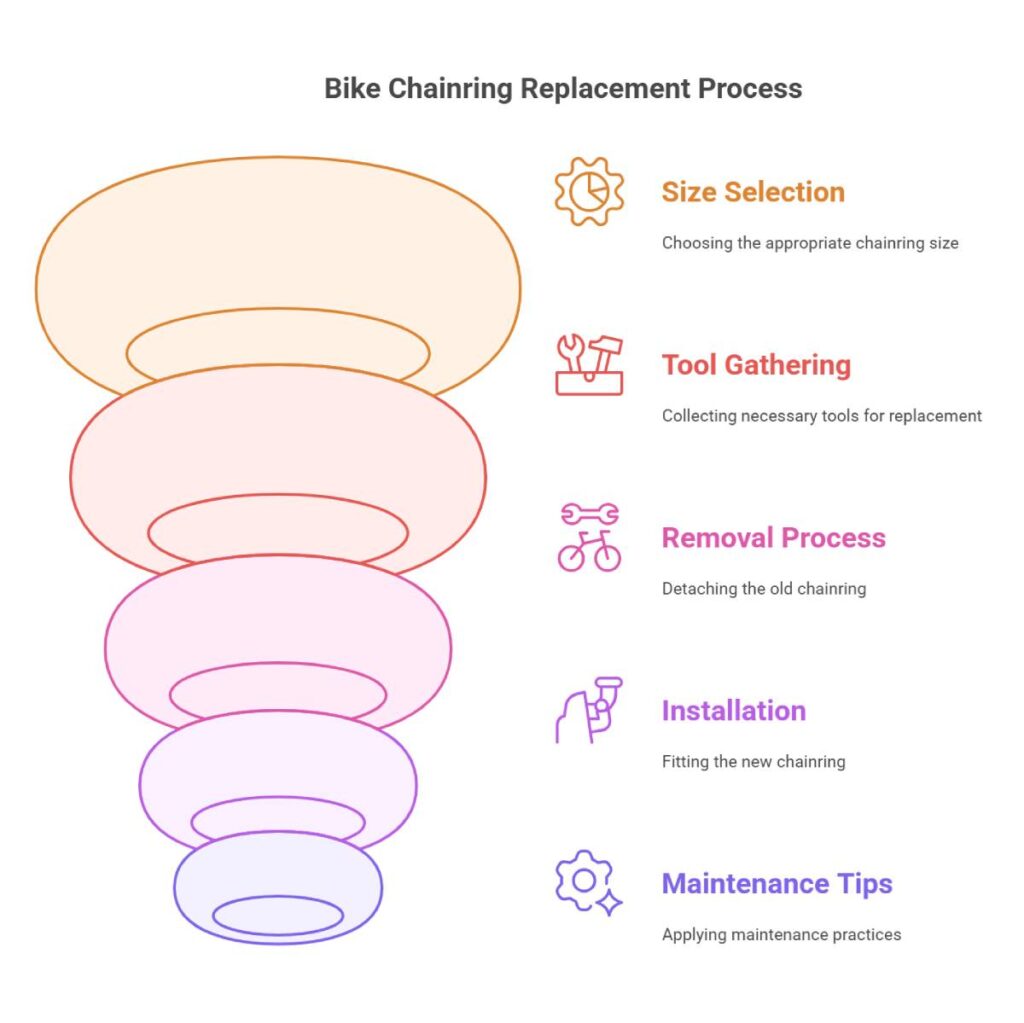
Dive into our comprehensive guide to discover top tips for replacing your bike chainring and elevate your cycling experience to new heights!
Understanding Chainring Replacement
Swapping out your chainring can turbocharge your biking game. We’ll chat about spotting worn-out chainrings and why chainring size really matters for your ride.
Signs of Worn-Out Chainrings
Chainrings are tough cookies, but even they can’t escape the wear-and-tear monster. Here’s the lowdown on when it’s time to let that old chainring go:
- Shark Tooth Look: If those teeth start mimicking shark fins, it’s a clear shout-out that they’re way past their prime (REI).
- Chain Suck: Your chain’s acting like it’s got separation anxiety, sticking to the teeth (REI).
- Chain Sticking: Pedaling feels like you’re pulling taffy when the chain clings on (Bicycling).
Do your bike a solid and keep an eye out for these must-know signs. Curious about more bike upkeep tips? Scoot over to our bike maintenance schedule.
Impact of Chainring Size
The size of your chainring can totally tweak your biking vibe. Whether you’re dialing down for steep hills or cranking up for flat-out speed, size matters.
- Smaller Chainrings: Makes for chill pedaling and hill conquering; great if you’re all about those simple gears.
- Larger Chainrings: Lets you put the pedal to the metal on level roads; spot-on for the speedsters out there (Bicycling).
| Chainring Size | Whatcha Get |
|---|---|
| Smaller Chainring | Easier climbs, gentler pedaling vibes |
| Larger Chainring | Rev up for speed, rock the flat stretches |
Your pick of chainring size hinges on your ride style and the paths you love to shred. Dive deeper into this topic with our chainring sizing guide.
Keeping your chainring in tip-top shape makes sure your ride is as smooth as butter. For more on tackling bike fixes like cleaning your bike cassette or getting your derailleur just right, cruise through our bike repair guides.
Choosing the Right Chainring
Picking the right chainring ain’t just a fancy choice—it affects how smooth your ride is. Let’s break down the nuts and bolts, focusing on what fits and sizing tips that’ll keep your bike crankin’.
Compatibility Considerations
Making sure your new chainring plays nice with your gear is the first step. Here’s what you gotta check:
- Number of Mounting Holes: Chainrings come with either 4 or 5 holes. Yours needs to match up with your crank’s hole pattern.
- Bolt Circle Diameter (BCD): This is the circle size that passes through the bolt holes’ centers. Match this up with the crank, and don’t forget it’s usually in millimeters. Make sure to look at what the crank folks say about it.
- Attachment Type: Check if the chainring is a direct mount onto the crank arm or if it attaches to a spider. Just make sure it fits with what you’ve currently got.
| Compatibility Factor | What’s the Deal? |
|---|---|
| Number of Mounting Holes | Make sure it’s 4 or 5, lining up just right with your crank |
| Bolt Circle Diameter (BCD) | Measures the size of the bolt circle in mm |
| Attachment Type | Is it a direct mount or does it need a spider? |
Feel like diving deeper into keeping your bike happy? Head over to our bike maintenance schedule for more help.
Chainring Sizing Guide
How big your chainring is will affect how hard you work and how fast you go. Chainring sizes usually come with a tooth count. So here’s how you nail down the perfect fit:
- Small Chainrings (30-34 teeth): Great for going uphill or when you wanna take it easy. Less effort.
- Medium Chainrings (35-44 teeth): Good for whatever the trail throws at you. Perfect for a bit of everything without wearing yourself out.
- Large Chainrings (45+ teeth): Awesome for speed demons and flat paths. You’ll pump a bit more power but fly faster.
Switching out chainring sizes, even by just two teeth, can feel like a whole new ride. Adjust your derailleur and chain if you’re swapping out (Bicycling).
| Chainring Size | Teeth Count | What’s It Best For? |
|---|---|---|
| Small | 30-34 | Climbing and easier rides |
| Medium | 35-44 | All sorts of terrain |
| Large | 45+ | Speedy, flat trail cruising |
For more geeky goodness on bike fixes like cleaning your chain or tweaking your brakes, browse through our other guides.
Picking the right chainrings will transform your bike rides into pure joy. It’ll feel like you and your bike are in perfect sync. And if you’re wondering which tools to bring along on this adventure, we have a bike tool kit essentials list just for you.
Removing and Installing Chainrings
Switching out your chainring is a key part of bike upkeep. Whether it’s worn down or you’re jazzing it up for better speed, following the steps right makes the job a breeze.
Tools Required
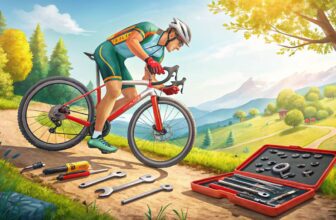
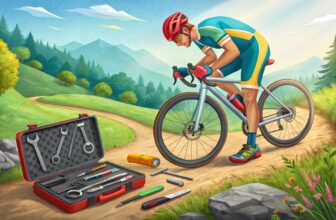
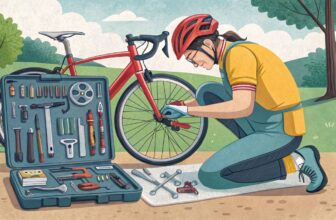
Before you rip into it, get your tools ready. Once you see the list, You’d think you’re about to build an Ikea shelf, but nope, you’re just fixing your bike:
- Chainring nut wrench
- Hex or Torx wrench
- Crank puller (if your cranks aren’t self-extracting)
- Threadlocker “magic” compound
For a total scoop on bike tool must-haves, check our bike tool kit essentials.
Step-by-Step Removal Process
Different cranksets have their quirks. Self-extracting cranks usually just need you to turn a bolt counterclockwise with a hex wrench. For the picky ones, you might need a crank puller that fits just right online (Bicycling).
Follow these steps:
- Remove the Crankset:
- Self-extracting? Use a hex to loosen the crank bolt.
- non-self-extracting? Time to haul out the crank puller.
- Remove the Chainring Bolts:
- Brace the nut at the back with a chainring nut wrench. Use a hex or Torx on the front bolt and turn it counterclockwise.
- Save those bits for round two!
- Detach the Chainring:
- Once the bolts are out, free the ring from its spidery perch.
Proper Installation Techniques
You’re installing this baby by reversing the removal steps. Better do it right, or you’ll be back at square one.
- Align the Chainring:
- Line up the new ring’s holes with the cranks, making sure the chain stop pin’s not out of place.
- Apply Threadlocker:
- Dap some thread locker on the bolts. It’s the glue that’ll keep them snug.
- Bolt the Chainring:
- Tighten bolts in a star pattern so each side gets its fair share of tension. Eye those torque specs as they matter—because they do (Bicycling).
- Reattach the Crankset:
- Back to business for self-extracting ones—turn the bolt clockwise.
- For the tricky cranks, yank out the crank puller to do the job.
| Tool | How It Helps |
|---|---|
| Chainring nut wrench | Stops the nut from spinning |
| Hex (Allen) wrench | Handy for screwing and unscrewing ring bolts |
| Torx wrench | Also for nuts and bolts |
| Crank puller | Wrestles off non-self-extracting cranks |
| Threadlocker compound | Adds extra grip to chainring bolts |
Got more bike fix-it needs like tweaking derailleurs or gussying up the chain? Check out our bike repair guides.
A little TLC keeps your ride smooth, whether it’s popping on a new chainring, tweaking those brakes, or working a bike safety check.
Maintaining Chainrings
Treatin’ your bike’s chainring like royalty? That’s how you keep things rollin’ easy and smooth. Let’s dive into some simple but super effective cleaning and maintenance tips that’ll make sure your chainring stays in top-notch shape for the long haul.
Cleaning and Care Tips
Keepin’ your chainring squeaky clean is the secret sauce to its long and happy life. It’s all about staying one step ahead of dirt and grime, cuz that stuff’s like sandpaper on your gear. Here’s the lowdown:
- Regular Cleaning:
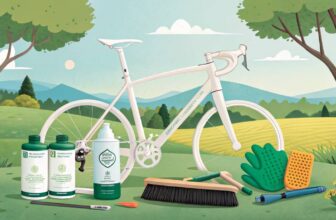
- Grab a soft brush and some bike cleaner. Scrub-a-dub, making sure no gunk’s hangin’ around the teeth. Seriously, a clean chainring is a happy chainring! Need the dirty details? Check out our guide on clean bike chains.
- Lubrication:
- Once it’s clean, a little lube action goes a long way. Slap on some quality bike lube to keep it moving smoother than a penguin on a slip-onslide. Peep our list of the best bike lubricants out there.
- Inspection:
- Give it a good look-see. Check those teeth for any funky wear or damage. If it’s lookin’ tired, maybe it’s time to swap it out to keep your ride in tip-top shape. More on that in our bike chain wear article.
| Maintenance Task | Frequency |
|---|---|
| Cleaning | Weekly |
| Lubrication | Post-ride or after a good clean |
| Inspection | Monthly |
Chainring Longevity
If you give that chainring some love, it’ll last way longer than most of the gang on your bike. Here’s how to keep the good vibes rolling:
- Smooth Shifting:
- Don’t go cross-eyed! That’s when you’re using the smallest front with the smallest back cog, or vice versa with the largest. This’ll beat up your chain and chainring big time.
- Switch Chains When Needed:
- When the chain starts getting all skippy and weird under a load, it’s a hint it’s wearing out. Swap it out early and you’ll save a lot of hassle for the whole drivetrain family (Park Tool).
- Quality Matters:
- Don’t cheap out. Invest in the good stuff—those high-quality chainrings and chains pay off with durability and smoother rides. Need the full lowdown? Our bike tool kit essentials will sort you right.
Stick to these simple routines with your bike maintenance schedule and let that chainring work its magic longer. Not only does this boost your biking mojo, but it also saves some cash in repairs down the road.
For even more wisdom on bike TLC, check out our guides on adjusting the front derailleur and service bottom bracket. We’ve got your back to keep that bike feelin’ like the first ride every time.
Chain Sizing and Replacement
Keeping your bike chain at just the right size and replacing it now and then keeps your ride smooth and your bike parts lasting longer.
Chain Width and Gearing
Bike chains ain’t one-size-fits-all. The right size depends on what kind of gears and number of cogs your bike’s rockin’ on the back wheel. For those bikes with gear shifters, you’re usually looking at a chain width of 3/32″. Here’s a little cheat sheet:
| Speed Chains | Chain Size |
|---|---|
| 5/6/7-speed | 3/32″ |
| 8-speed | 3/32″ |
| 9-speed | 3/32″ |
| 10-speed | 3/32″ |
Bikes with special setups like the fixie, single-speed, or BMX types often dance to their own tune with 1/8″ chains. Make sure to get the right specs for your bike’s chain needs (Bicycles Stack Exchange).
Chain Wear Indicators
Bike chains aren’t forever, they see a lot of action and eventually wear out. If you ever feel like you’re ghost pedalin’ – it’s slipping or chain ‘suck’ where it acts like a clingy ex and doesn’t leave the chain ring – you might have a worn chain issue. To keep things running smoothly, checking your chain for signs of wear is where it’s at.
Worn Chain Warning Signs:
- Slips when you pedal hard
- ‘Chain suck’ (not the name of a metal band, though it should be)
Keep that chain clean, greased, and tidy to make it stick around longer. For the nitty-gritty on keeping your chain in top shape, swing by our guide on clean bike chains.
Importance of Regular Replacement
A chain that’s seen better days can give your cogs and rings a rough time. Swapping out the chain before it wears out totally can save you some cash on bigger repairs. A little swap every now and then means your ride rolls efficiently, and your wallet doesn’t take a bigger hit later.
Keeping the chain fresh is a big part of keeping your bike happy. Want the lowdown on maintenance? Check out our bike maintenance schedule.
Know your chain sizes, keep up with those swaps, and your rides will feel smooth as butter. For more secrets to bike care success, check out our guides on bike tool kit essentials, adjust front derailleur, and clean bike chain.
Conclusion
Replacing your bike chainring is more than just a maintenance task—it’s an upgrade that can transform your riding experience.
By understanding the signs of a worn-out chainring, selecting the appropriate size, and ensuring compatibility with your bike’s components, you set the stage for smoother and more efficient rides.
Proper installation is crucial; following a detailed, step-by-step process ensures that your new chainring performs optimally and lasts longer.
Don’t overlook the importance of regular maintenance, including cleaning and lubrication, to keep your chainring in pristine condition. Additionally, paying attention to chain sizing and timely replacements can prevent unnecessary wear on your drivetrain, saving you time and money in the long run.
Embrace these tips and enjoy a ride that feels as good as new, every time you hit the road or trail. Remember, a well-maintained bike is a happy bike, and a happy bike makes for a happier rider.
FAQs
What are the signs that my bike chainring needs replacement?
Signs include shark tooth-shaped teeth, chain suck, and the chain sticking during pedaling. If you notice these issues, it’s time to replace your chainring to maintain optimal performance.
How do I choose the right chainring size for my bike?
Consider your riding style and terrain. Smaller chainrings (30-34 teeth) are ideal for climbing, medium sizes (35-44 teeth) suit versatile terrains, and larger chainrings (45+ teeth) are best for speed on flat roads.
Can I replace the chainring myself, or should I seek professional help?
If you have the right tools and some mechanical know-how, you can replace the chainring yourself by following a step-by-step guide. Otherwise, seeking professional assistance is recommended to ensure proper installation.
What tools are required for replacing a bike chainring?
You’ll need a chainring nut wrench, hex or Torx wrench, crank puller (if necessary), and thread locker compound. Having these tools ready will make the replacement process smoother.
How often should I maintain my chainring?
Regular maintenance includes cleaning weekly, lubricating post-ride or after a good clean, and inspecting monthly for any signs of wear or damage to ensure longevity and performance.
Final Thoughts
Upgrading your bike’s chainring is a strategic move that can significantly enhance your cycling performance and enjoyment. By carefully assessing wear signs, selecting the appropriate size, and ensuring compatibility with your bike’s drivetrain, you’re investing in a smoother, more efficient ride.
Remember, proper installation and regular maintenance are key to maximizing the lifespan and functionality of your new chainring. Don’t hesitate to seek professional help if needed, and always equip yourself with the right tools and knowledge.
Embrace these upgrades and maintenance tips to keep your bike in top shape, ensuring every ride is as enjoyable and effortless as possible.
At MyBikeReview.com, we’re committed to helping you achieve the best biking experience, one upgrade at a time.
Key Tips
- Regular Inspection: Frequently check your chainring for signs of wear to prevent bigger issues.
- Proper Tools: Invest in quality tools like chainring nut wrenches and crank pullers for efficient replacements.
- Correct Sizing: Choose a chainring size that matches your riding style and terrain preferences.
- Maintenance Routine: Establish a consistent cleaning and lubrication schedule to extend chainring life.
- Quality Components: Opt for high-quality chainrings and chains to ensure durability and smooth performance.
Recommended Biking Products and Accessories
- Chainring Nut Wrench: Park Tool FR-5.2 Chainring Tool
- Hex/Torx Wrenches Set: Topeak Hex Key Set
- Crank Puller: Pedro’s Crank Puller
- Threadlocker Compound: Loctite 242 Threadlocker
- High-Quality Bike Chain: KMC X11 Bike Chain
- Bike Cleaner Kit: Finish Line Bike Cleaning Kit
- Lubricant: Finish Line Dry Bike Lubricant
- Chainring Size Gauge: Park Tool CC-3.2 Chain Checker
- Bike Maintenance Stand: Feedback Sports Pro Fixer Bike Stand
- Bike Tool Kit: Crankbrothers M19 Multi-Tool
These products will help you efficiently replace and maintain your bike chainring, ensuring a smooth and enjoyable ride every time.

